Starting here with the Teuton’s version of the Healing Fortress endgame - will add to this post
Endgame numbers in 200 pop (current as of
11/19/20)
Eco: 15 villagers, 5 farmers, 10 woodchoppers, and as many relics as one can gain
Army:
(60)Hotkey 1: 29 teutonic knights, 21 hand canoneers, 10 monks, square formation, stand ground
(20)Hotkey 2: 20 Teutonic Knights
(20)Hotkey 3: 20 Palladins
Hotkey 4: Reserved for converted enemy units of importance
These 52 may be traded out for eco and spam units in a team game, and or excessive siege onagers and other needed siege
(52)Hotkey 5: 2 villager repairers(which will reside inside a siege tower for safety and be tagged under Hotkey 6 for ease of use)
30 heavy scorpions, 7 Siege Onagers, 3 Siege Towers(2 on standby for the 20 TK usage),
7 Bombard Canons and 3 trebs
(52 including the 2 vills)
Total Main Army Pop including 2 vills: 152
Homebase Army:
(All of these may be added to the main army in a final assault, or traded for trade carts in a team game and as many eco vills as necessarry)
Hotkey 9: 20 Hand Canoneers,
Hotkey 8: 2 monks
Hotkey 7: 8 Teutonic Knights,
Hotkey 0: 3 Bombard Canons
(33 pop)
Total army Population including 2 vills
(185)
Total pop limit (200)
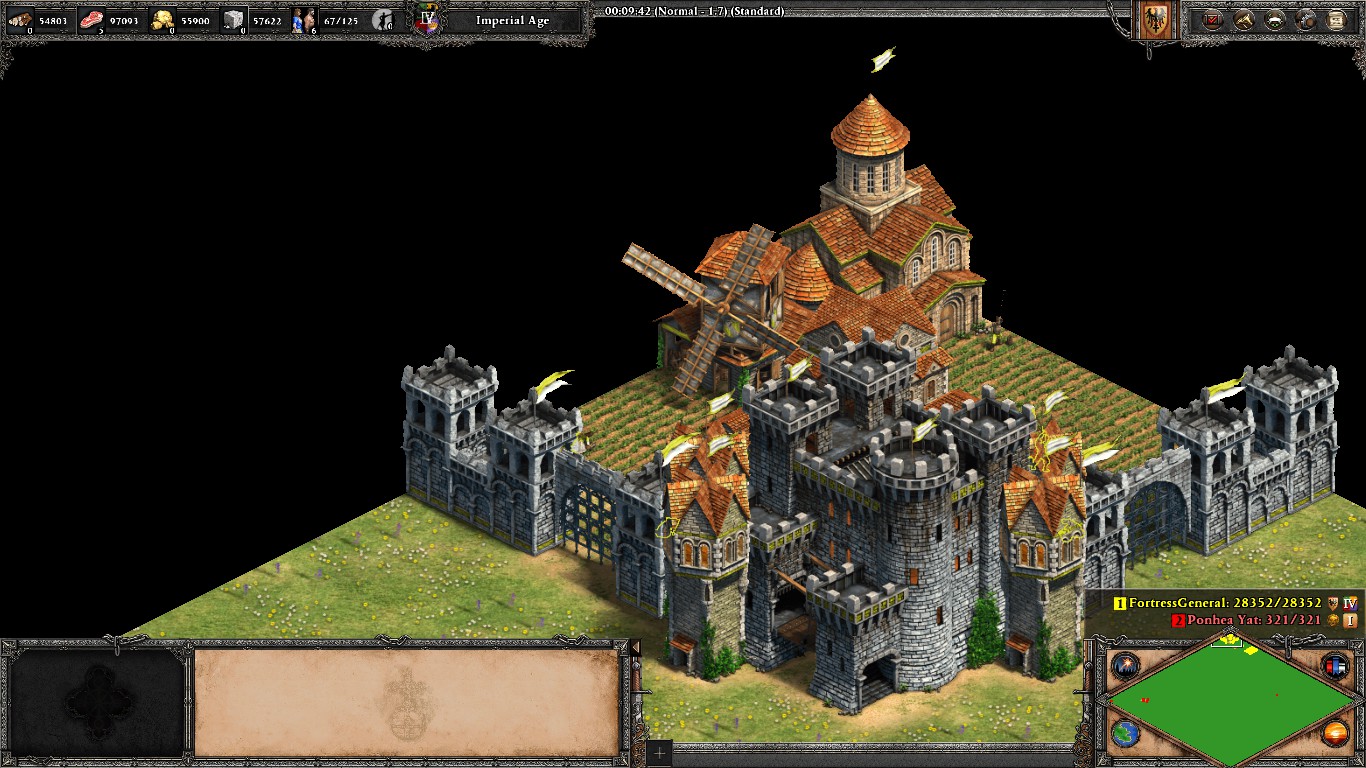
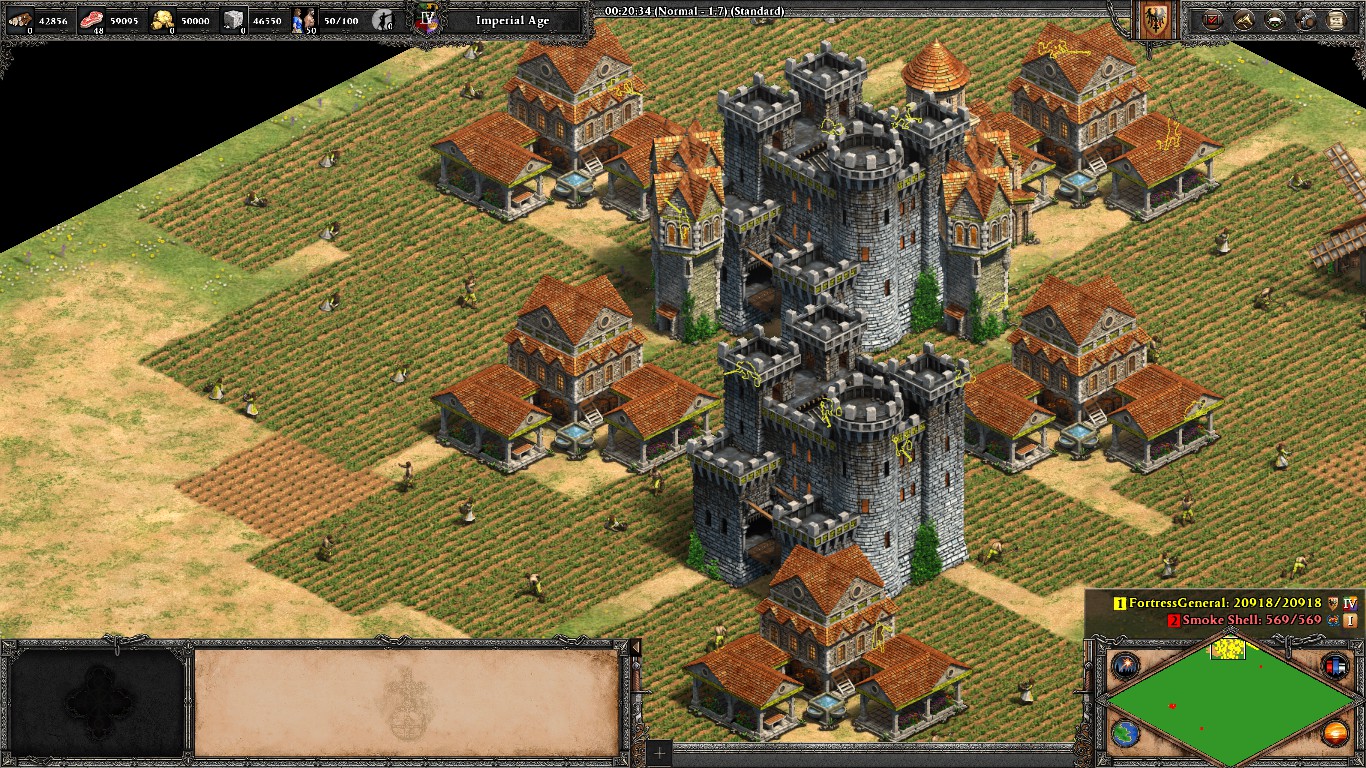
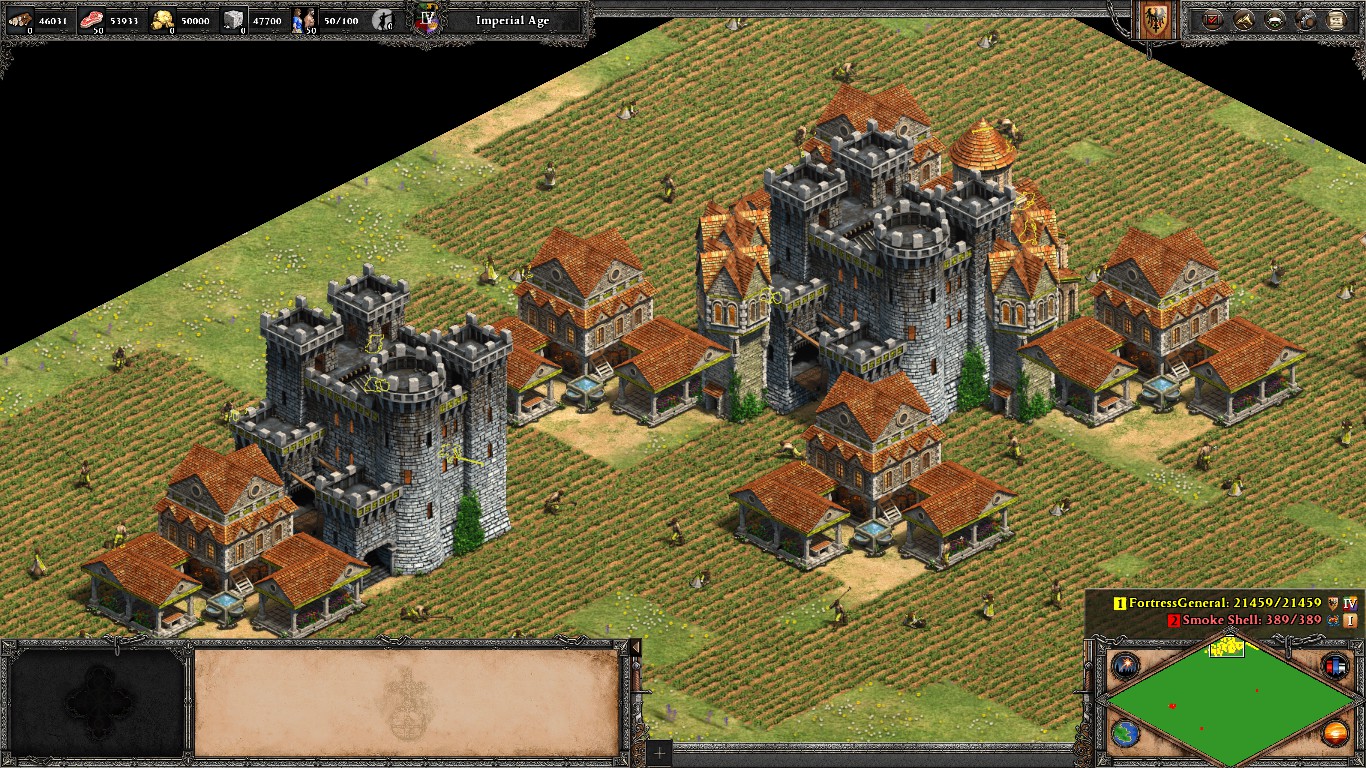
Defensive Eco Examples: (shown in editor, but able to be built in-game)
I now suggest using only bombard towers instead of keeps in the late game,
Feel free to use towers defensively in the early game, up to 5 maximum, 2 minimum if you feel like it
Using the army:
In the homebase army, keep 20 Hand Canoneers in the central castle.
Keep the 8 Teutonic Knights in the bombard towers closest to the enemy on standby for close quarter counters.
Keep the 2 monks in a nearby town center or a bombard tower seperate from the teutonic Knights on standby for heals and conversions.
Be sure to snipe enemy siege units with the bombard canons whenever possible.
In the main army:
When using the Healing Fortress Formation of 29 Teutonic Knights, 21 Hand Canoneers, 10 monks one must be careful and well-versed in how to micro it from possible dangers that exceed its capabilities as well as to know when to change the formation attack/defense and formation positioning stances in certain key situations.
Stand ground and square formation are the base formation’s main stances, but it must flow like water in certain ways, so know when to change it up for the better of each battle.
One must also know that the formation is a support formation first and foremost, to support its supporting units - every unit in this army is in one way a support unit linking the entire army together in each combat situation and covering eachother’s weakness to increase everyone’s odds of survival.
Convert enemy units whenever possible and attempt to keep them alive and keep your army growing or at consistent numbers however you can.
Consider no-attack stance when you want to convert an enemy unit for sure.
If you can gain a seperate formation of about 20 Elite Huskarls, for instance, your battle prowress will become much stronger overall since your anti archer and siege capabilities will be strengthened.
Use the 20 Teutonic Knights to help with exterior enemies of the healing fortress formation and to take care of any trash sent out to take down your palladins.
Try to keep them within heal range of the hf
Use the 20 Palladins to take down siege units when you can and hit’n run tactics in general - use them to take down key hard to reach targets regularly and heal them often before any of then dies whenever possible. Consider the ‘ring around the healing fortress’ to have the hand canoneers take down any excess trash sent yiur way that the 20 teutonic knights can’t take care of immediately.
Using the Siege Formation is key to victory, losing it is detrimental and costly, so use it wisely and repair it whenever possible.
Heavy Scorpions: Stand Ground
Siege Onagers: No-Attack Stance
Bombard Canons: No-Attack Stance
Trebs: No-Attack Stance(optional depending on situation)
Keep the attack-ground function handy, and when you absolutely have to, send one or more, within reason, siege onagers out to snipe other onagers
And ranged units when needed. Use bombard canons where possible to minimize losses.
Use trebs for long distance anti-building work and use the bombard canons to snipe any incoming resistance alongside the siege onagers while the heavy scorpions cover the group from faster opponents.
To face the bombard canons/siege onagers/etc towards the enemy, turn the formation away from the intended point of contact with the enemy so that the heavy scorpions are in the back and the rest is in the front for easy access and quality defense.
The two extra siege towers are for emergency use, and sometimes for their intended use.
They will allow your 20 Teutonic Knights to keep up with the palladins in certain situations, and provide you with arrow fodder to a certain degree to help keep enemy archers at bay for a short while.
Generally speaking, you’ll want them for when you need to get to somewhere quickly, or to run away from a situation where it’s obvious it’d be detrimental to your men or to quickly run and support your other units or base.
Scortched Earth Tactics:
To ensure that your enemy ends up with limited resources, use your onagers to burn any trees you intend not to use and any that the enemy might capture. If in doubt - Burn it all.
Leave them no room to rebuild even if they have map control. It will be a fight to the death. Your well-cared for army and sparingly used resources vs theirs.
Micro with care, and care for your units and any you might convert/capture to your side and you will master this with time and patience.
When the time is right and the enemy shows signs of weakening on the regular, use staggered formation and attack stance on all units except onagers and bombards and sweep the entire map with the patrol function when safe. Keep an eye on the monks cause if they lack a unit to heal, while everything else attacks something they may walk directly into the enemy line, so keep care of your monks.
Make sure to capture any relics the enemy may possess, onwards with the crusade.
Your 10 wood vills will create housing whenever needed as well as outposts wherever possible to ensure that you know where to go and what to expect, especially if you want to know where enemy villagers are fleeing or where the enemy army appears to be coming from so you might be prepared to the fullest extent, and so you might intercept enemy formations before they become a threat in certain curcumstances, such as a mass of bombard canons, trebs and onagers.
These 10 vills are military villagers and will help in scortched earth tactics for any remaining resources you’d prefer to gain and to help destroy buildings if wanted
Slow but steady, patience is key
The forms of the healing fortress that may be used in terms of numbers from lowest to highest(starting from 5 monks) for general safe transport of your monks while keeping everything compact, except for the last one, you could technically fit a small second group inside it of microed to do so, for instance, 32 hand canoneers (take out two monks and 2 Tks and fit inside 1 by 1 and then put them back)
13-18 melee, 5 monks
13-21 melee, 10 monks
18-21 melee, 10 ranged, 10 monks
29 melee, 21 ranged, 10 monks
29 melee, 20 monks, 10 ranged
30 melee, 30 monks
Consider binding each individual monk to the 10 numpad hotkeys for quick conversions, regular 1 hotkey to go to the group and select with the mouse to move it as a whole, but use the numpad to utilize the monks.
Select the entire monk group, and start the conversion of the first enemy unit to start the initial monk seconds for all monks and then use the hotkeys to quickly select individual targets for quick and consistent conversions from the safety of the healing fortress.
One may also use the ctrl click method for conversions if that is preferrable - select the group of monks, select the enemy to convert then quickly hold ctrl and click on a unit inside the listing of monks and a single monk will be kicked out of the grouping then select the next enemy quickly and repeat with as much speed as you can muster accurately from the mouse.