GL252’s guide to creating Realistic Maps
Requirements
- MSPaint or any other graphical editing software with skew transform capabilities
- A program that offers the functionality of transparent window overlaying. Like Ghost-it 1.4
- Satellite images (google maps/earth, NASA or other)
- (Optional: ShareX or a similar tool to capture portions of a screen, to make it easy on yourself)
Guide
1. Satellite Image
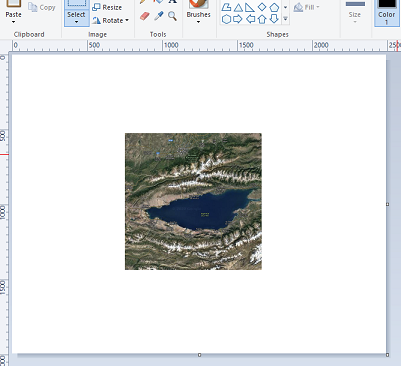
Find a good satellite image (where the type of terrain is adequately identifiable, as in you’ll be able to map it out to dirt/grass/rock/snow/desert/forest-type/water/etc). I’ll pick “Issyk-Kul, Kyrgyzstan” as an example. Copy paste it into MSPaint or capture the portion you want to map, but make sure that you end up with a perfectly square image (f.e. 1024px by 1024px).

2. Create some space
Drag the canvas so you have PLENTY of white background and zoom out a bit like so (this applies mostly to mspaint, where strange bugs pop up if you don’t, photoshop users can skip this step):
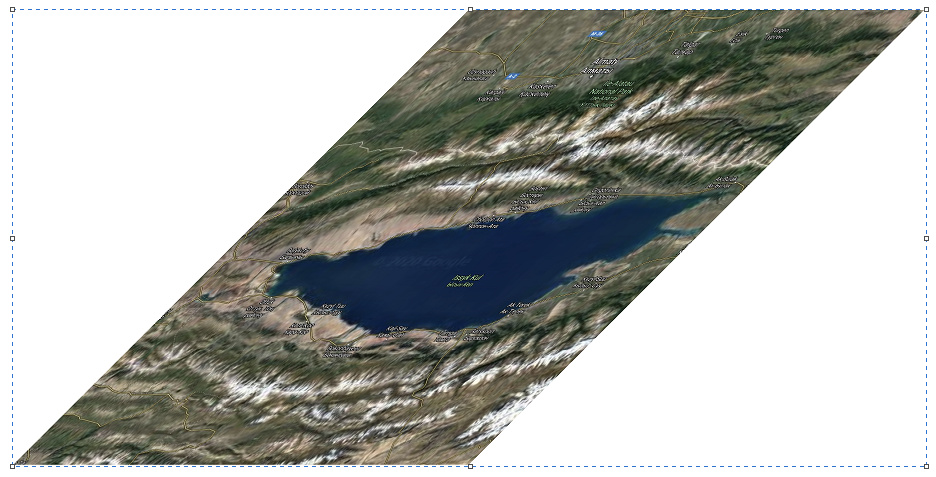
3. First Transform
On the toolbar, under ‘Home’ > ‘Image’ > Resize while you have your map portion of the image selected. Then apply a horizontal Skew of 45 degrees. You end up with this:
4. Second and Third Transform
At this point, it’s important to deselect what you have and make sure that you, again, have plenty of white background margin to play with, as the next transform can glitch without enough whitespace around it. Select the transformed map portion of your image from the bottom left corner to top right (or vice versa) and apply a second transform with Home > Image > Resize, this time you apply a transform of -27 degrees under the Vertical Skew. You end up with roughly the same shape as the in-game minimap, like so:
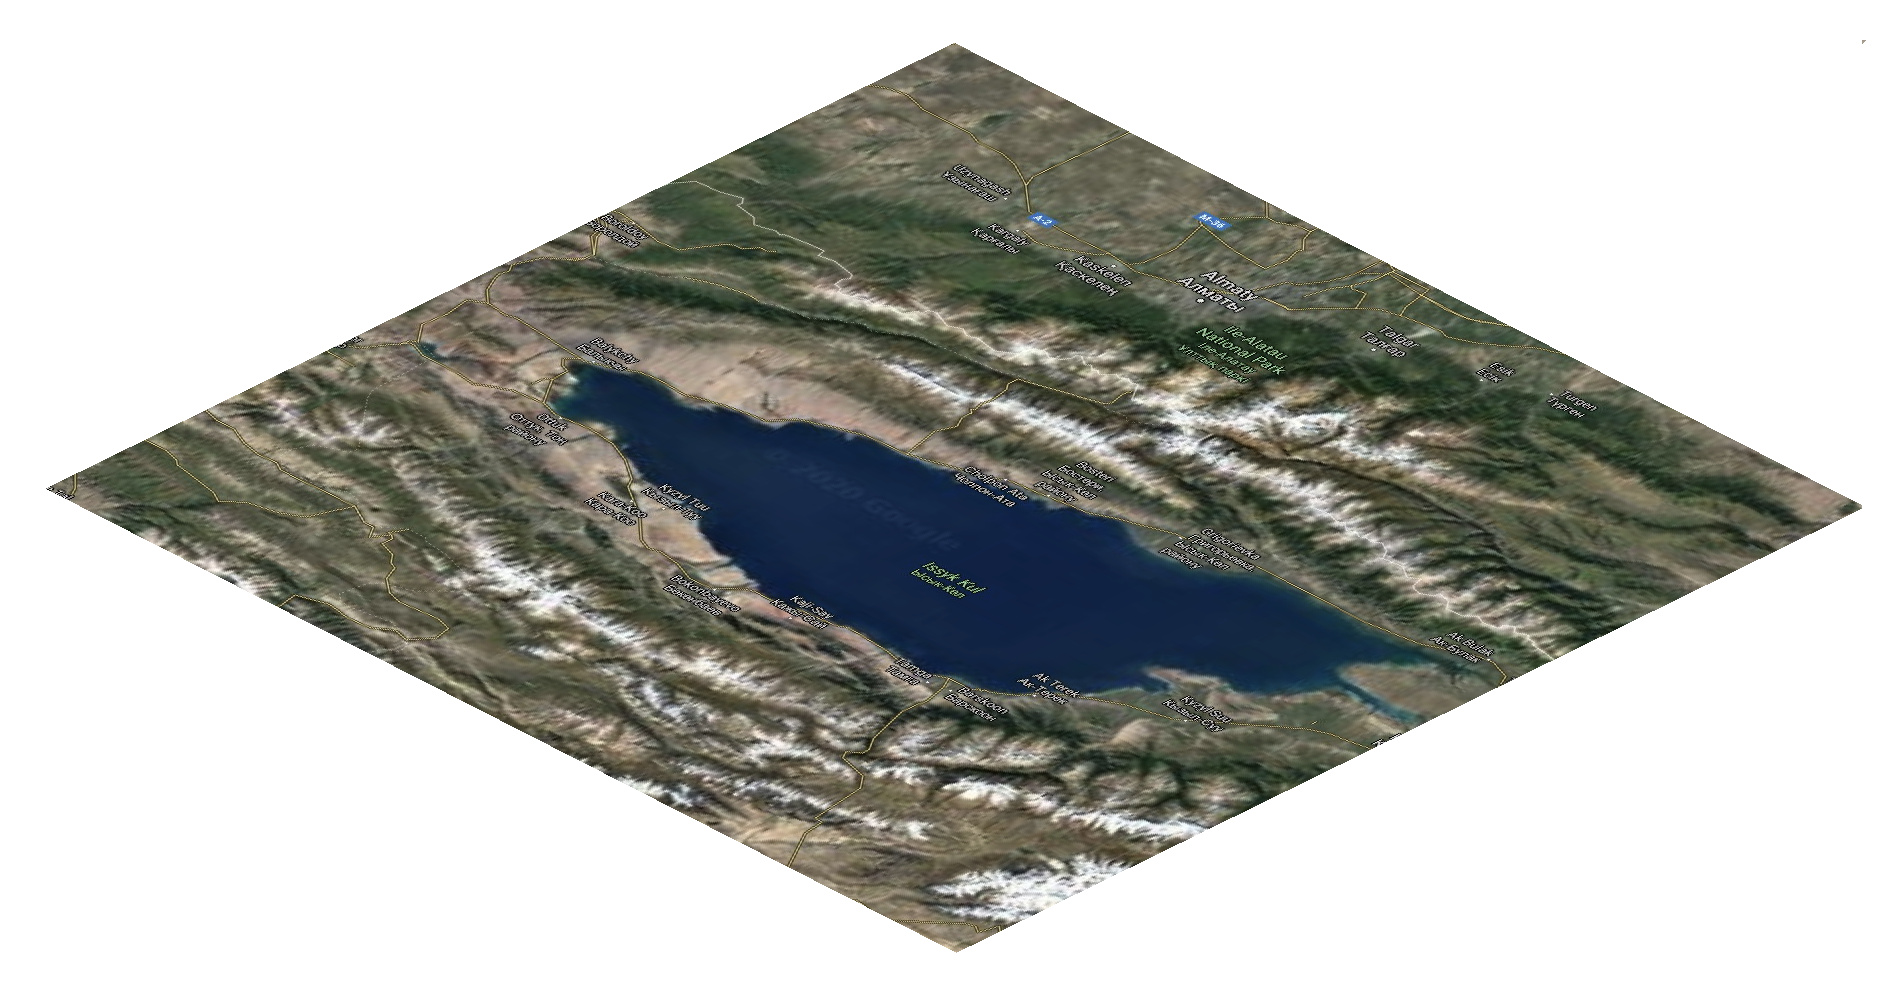
Oh, if it doesn’t line up, it likely won’t, probably because you need to stretch it a bit vertically (15%-ish), you’ll see later.
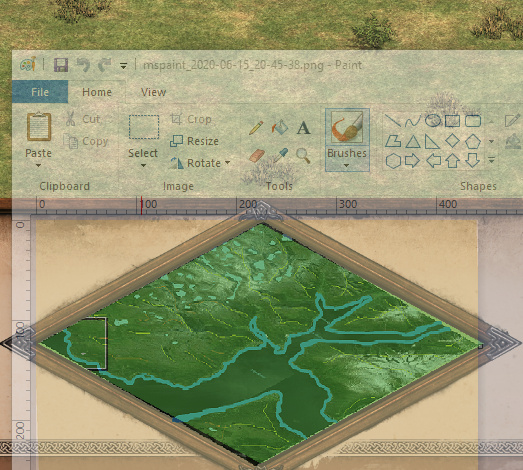
5. Define Terrain Features
Now that you have a good working image set up, it’s time to add features to make it easier on the eyes when you use it as reference, when overlaying it in-game. Use easily identifiable colors that roughly match the in-game terrain types (but not completely, to more easily differentiate between terrain painting parts you completed and parts you haven’t yet in the editor itself). The last thing to add is elevation, I use either thin ellipses, freeform or just straight lines in a bright color (red, orange, yellow or pink) to roughly map out where I will put ‘high’, ‘medium’ and ‘low’ elevation terrain, an ad hoc topographic map if you will. If you have some RL cities on the map that you want to keep, don’t forget to mark them. You either end up with something very expressive like this:

or if you’re a minimalist, something like this:
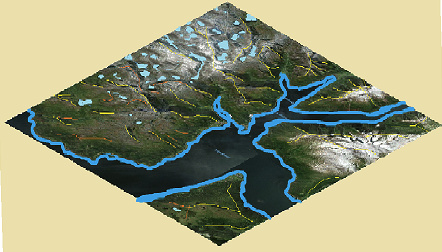
I tend to favor minimalism, as long as the rivers, lakes and primary mountain ridges are easily spotted. You’ll end up mixing terrain anyway and there’s no point to colouring the entire map in 7 different colors, as you lose most of the detail.
6. Overlay
Finally, you’re ready to run AoE2 now. Open your game and go to the editor, create a scenario and generate a map with the right size (I prefer Giant, but you may want to start off smaller, since detailing a big map takes a while) and the dominant terrain type (snow, water, grass, desert…). Pick the AI type while you’re at it. Save it.
Now open the Ghost-it software (or software of your choosing with similar functionality) and ‘ghost’ the mspaint window with your map on it. Drag it over your minimap in the editor and alt tab back into the game. Voila! *
You can hide the toolbar and stuff under View or with the arrow under the “close window” X, if you find it obtrusive, but you need to ‘un-ghost’ your window to access it, alt-tabbing works as well, you can’t click it regularly while its ghosted. You can also alter the transparency level of both windows, should you need to, to make it easier on the eyes.
7. Create your world
With your mspaint stencil ready, you can now brush in the terrain. I suggest doing so in the following order, to minimize the risk of forgotten areas and having to trace back your steps:
- Fill water bodies, lakes, rivers, streams with medium or deep water.
- Everything else with the dominant non-forest terrain type
- Add terrain detailing of non-forest types
- Add elevation (adding it later on, after all the tree objects are placed, will be slow, depending on map size) and cliffs.
- Add forest and forest detailing
- Add resources (fish, huntables, herdables, gold piles, stone piles). Give them locations that make sense and don’t overdo it. Think about strategy as well during step 5, 6 and 7. Give each player the resources he needs in as fair a manner as possible while maintaining realism (like gold/stone primarily near mountains, food sources closer to water/shallows/grass/forest/oasis)
- Miscellaneous objects / units / buildings and trigger works.
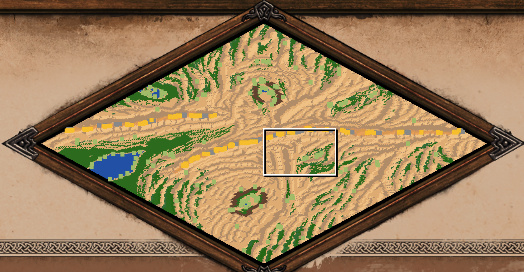
Here’s an example of a finished small map of mine based on a satellite image of the sahara as initial template and fleshed it out as a good competitive map with limited castle/tc/siege build spaces (focused on elevation eliminating most 4x4, 5x5 spots). Chop to castle drop!:
8. Step through the gate…
Give it a try and post your results (scenario file and/or image)!

Some more tips:
- Most elevation will only look natural if you mix levels 2-7
- Use terrain gradients (no layering + layering, find terrain types that match to portray a certain real life counterpart)
- Build templates in a corner of your map and map copy them to save time (see water example below)
- Mix terrain types, especially forests, to add flavor and mimick the flora of whatever your map is supposed to be. (note I’m using tiny tree mod for multiplayer, but it’s all the same)
- Use CTRL+G (free object placement) and every asset at your disposal to build whatever and create beautiful scenes (keep in mind with bigger scenarios, too many assets can clutter up your triggers work and lag more than a bit or even crash the game)

Note: If the transforms don’t work well, it may be because:
- you don’t have enough ram
- your paint file is too big, don’t exagerrate when it comes to the whitespace