Hello Guys and Girls
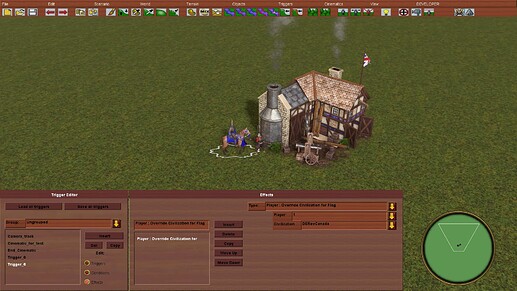
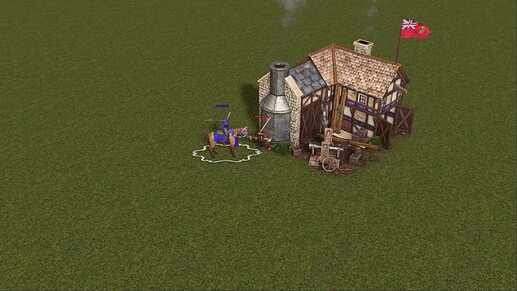
This will be a small guide step by step for everybody that wants to create a full screen screenshot in the editor, without having to crop everytime or having the damn meedling UI in the middle.
There are a few things to set up on triggers
and fortunately you can save Triggers so you just have to setup one time and you can load whenever you wanna make a screenshot on editor.
-
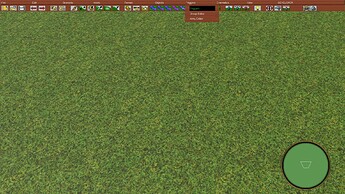
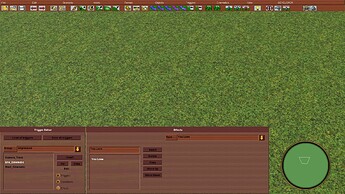
Go to Triggers, top bar, and Insert a new one
-
-
-
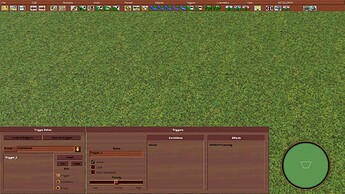
I renamed it to Camera_Track, select Activate and Run Immediately under the Name.
-
-
Go to Effects under Edit and in the Type, select Camera Track. For now, there won’t be anything on the Name, leave it like that.
-
-
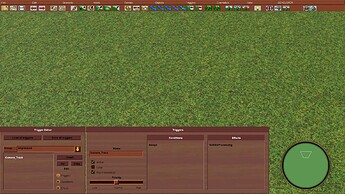
Insert another Trigger. I renamed it “Start_Cinematic”. As always, select Active and Run Immediately on Triggers under Edit
-
-
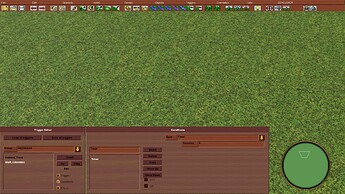
Go to Conditions and in Type, select Timer. I usually put 4 secs. (Will Explain later the reason for the timer)
-
-
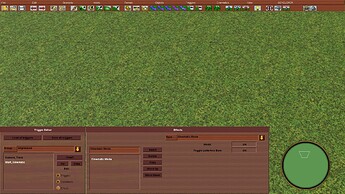
Go to Effects under Edit and in Type select Cinematic Mode
-
-
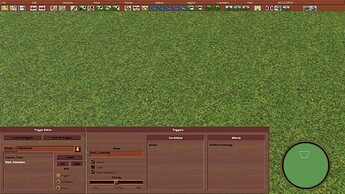
This will start the Cinematic Mode but we also need to close it. Click Insert and insert another trigger. I renamed it to “End_Cinematic”. As always, Run Immediately and Active.
-
-
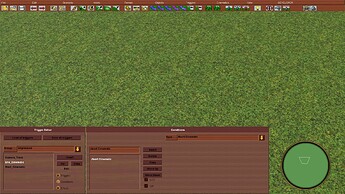
Go to Conditions under Edit and select Abort Cinematic
-
-
Got to Effects and select You Lose
-
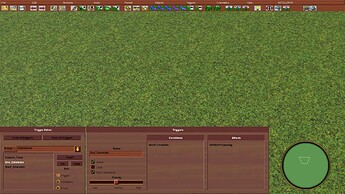
That’s it for the triggers, you can save them all and rename them whatever. I named them Screenshot
Camera tracking for the perfect angle
-
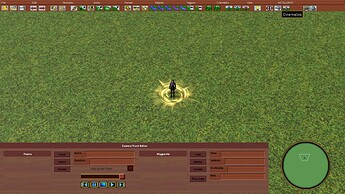
Click the icon that looks like a camera, under Developer
-
-
Click Free Cam
-
-
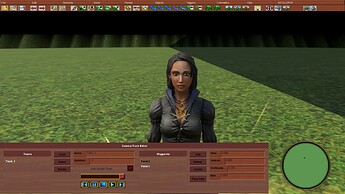
(step 0) You have unlimited zoom now, and you can move the camera view with CTRL + ARROW KEYS, Right and Left rotate the camera, up and down move the camera on the Z axis. You can always press ESC to get out from the under menus. Make a camera angle that you like.
-
-
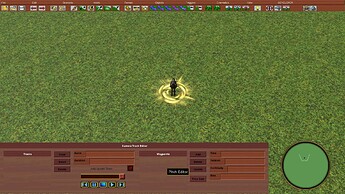
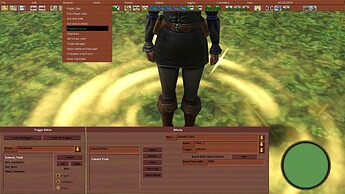
Click the camera icon once again. Click Insert underneath Clear. A new “Track_1” is created. Click on Add, side of Waypoints. Add a Duration, like 10 secs (doesn’t really matter for static shots).
-
-
If you want a different shot, go again through the (step 0), then select the camera icon and just click on Update selecting both Point0 and Point1. Double clicking Point0 or Point1 will always make you go back to the angle you saved.
-
-
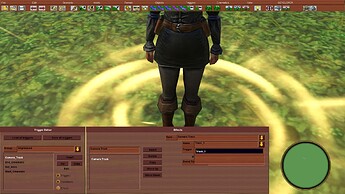
Go to Triggers and select the previously created Camera_Track. Now under Name, you got “Track_1”, created just now. Select it.
-
-
Go to Scenario, top menu, and select Playtest Scenario. Doesn’t really matter what player you choose. Click ok
-
-
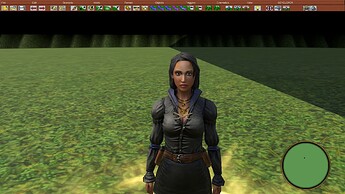
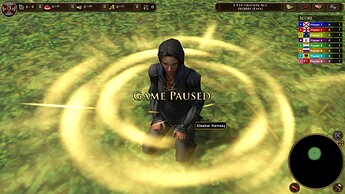
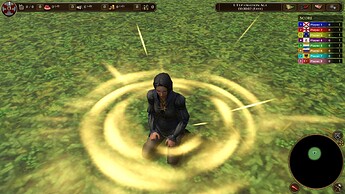
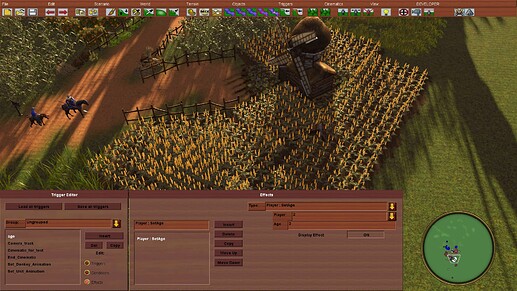
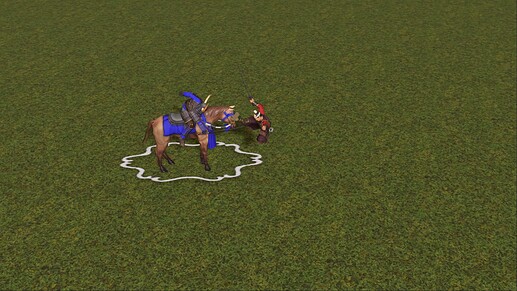
You should be viewing from the angle you saved in the “Track_1” (here Lizzie has an animation)
-
Cinematics will start in 4 secs, like we set up in the trigger. Why did i add this Timer?
- I have a crappy computer, immediately starting Cinematics will remove the ui and i want the best graphic options on for the screen, so as soon as the scenario playtest start, i pause the game and crank the graphics at max for the screenshot in the settings. Unfortunately there is a bug on DE, and the camera angle we used is ‘forgot’ by the game. This is where the trigger End_Cinematics with the You Lose effects comes handy.
-
Don’t worry, the cinematics will still start in 4 secs
-
-
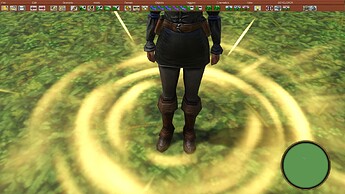
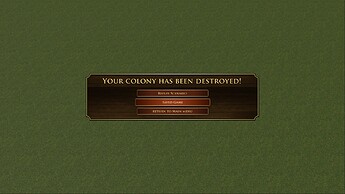
Bonus: Cinematics removes the hero glows as well. The Cinematics will stay forever if you leave but the camera angle is fuc*ed. Now comes the End_Cinematics trigger in effect. Press ESC. You should see this.
-
-
Return to Main Menu will get you back to the Scenario Editor, instead, Replay Scenario will restart the scenario with the CORRECT camera angle you saved in “Track_1” and you can let the cinematic start.
-
-
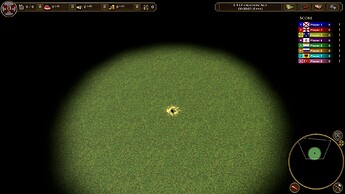
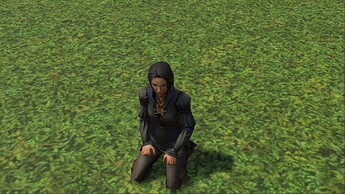
After 4 secs:
-
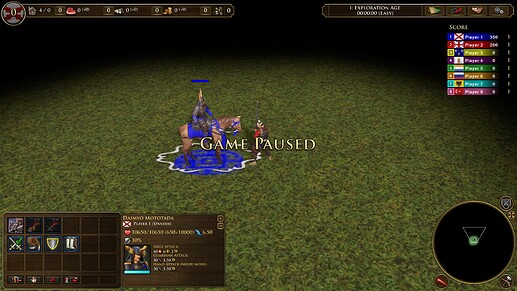
You can pause a cinematic cut by pressing F10.
-
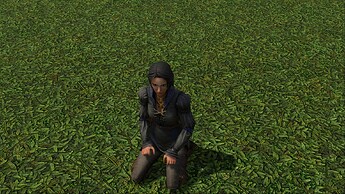
Press Print on your keyboard or any screenshot shortcut you have and you can paste it anywhere (even directly on this forum )
-

 GL and HF in the editor.