as a person new to modeling can anyone tell me how to modify units and texture them please. Thank You ![]()
To preface, I am by no means an expert at this (quite the opposite), and I lack the knowledge, skill, and tools that an expert would know like the back of their hand, however figuring out how to do this is a huge asset for modding so I have been stumbling my way through it to try to learn. I’ll walk you through the very first skin attempt I made as a complete novice, and if your knowledge of 3D modeling is more than mine it may be enough to get you where you need to be to do your own skins.
You will need Resource Manager in order to extract the textures and xml files. You may want Notepad++ or something like it to make editing the XMLs easier. You will need a PaintShop type program to do your skins, possibly some other tools. Anything with models is going to require even more programs as I believe you need a tools just to get the GR2 files into a program like Blender, and that’s beyond my current level of knowledge so I can’t help there. You might also need File Converter to put the TGAs back into DDTs.
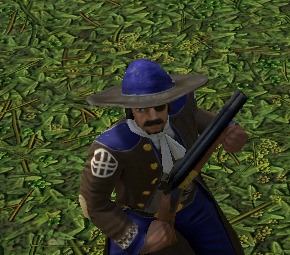
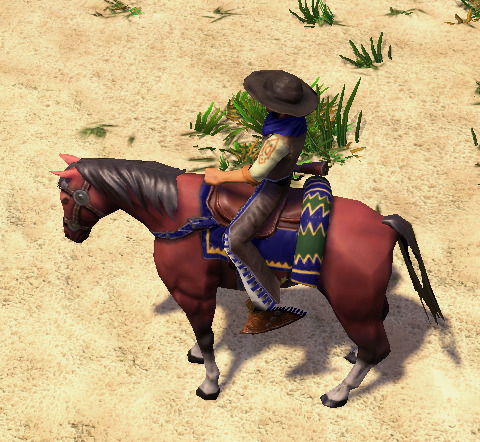
For my current modding project, I wanted to use the Bandido hat, but I didn’t like that the top of it is entirely in player color. How can we change that?
The first step is to try to see if the devs did the work for us. You’ll need to use Resource Manager to get into the Art bar file, and for a unit you’ll need to get ArtUnits bar and ArtUnitsTextures 1-5 bars. If you’re on Windows Store version, getting into these will require extra effort as you’ll have to look up a guide on how to get access to the WindowsApps folder so you can even get the bar files where the game is installed under Microsoft.MSGPBoston. (I had the game on Game Pass so I ended up getting it on Windows Store, but from what I’ve read it is much, much easier to get into modding if you have it on Steam). Once we have those bar files out, we need to search through them for the unit(s) we are interested in, then use the Resource Manager to extract those files to a folder, making sure to use the conversion options to make the DDTs into TGAs/PNG and XMBs into XMLs.
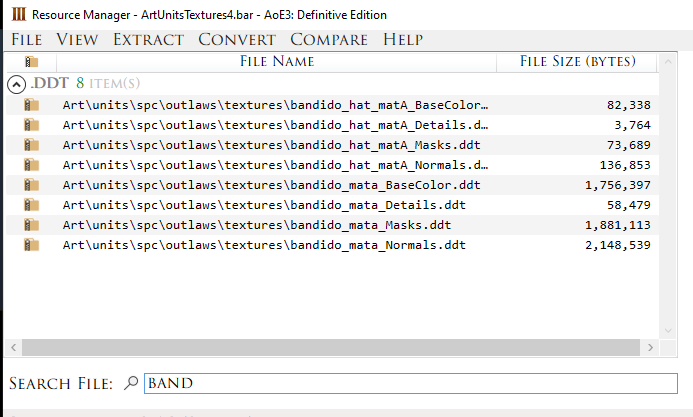
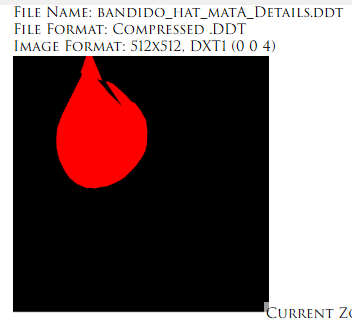
Looks like we have to do it the hard way, as there is only one Bandido Hat skin (a few skins have variants, more on that later). You can actually preview the textures in the Resource Manager by clicking on the file, and for the Bandido Hat it should be clear which part of the BaseColor texture is giving it the player color.
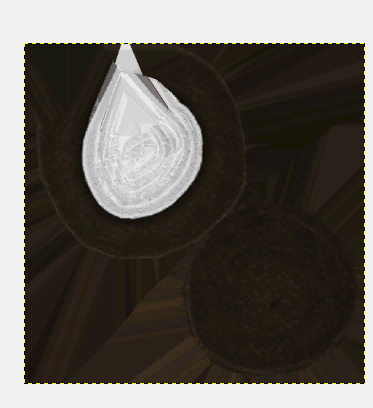
Should be an easy fix, we’ll grab the material from the other parts of the hat and cover up the player color part, and in theory we’ve accomplished our goal, but we’re not done yet as there were other Bandido Hat texture files we better look at.
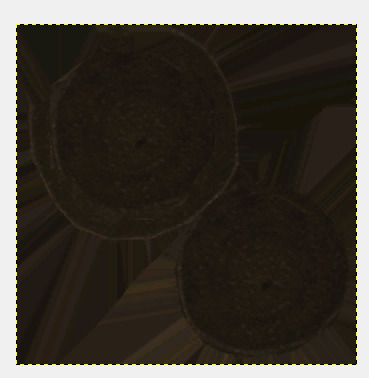
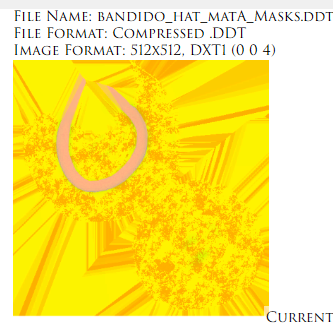
Looking at the details file, it appears to be for displaying the player color, as it lines up with where it was on the BaseColor file. Since we don’t have player color on our reskin (a more experienced skinner could probably leave a hat band or something in if they wanted to), we’ll edit the details file and just make it all black.
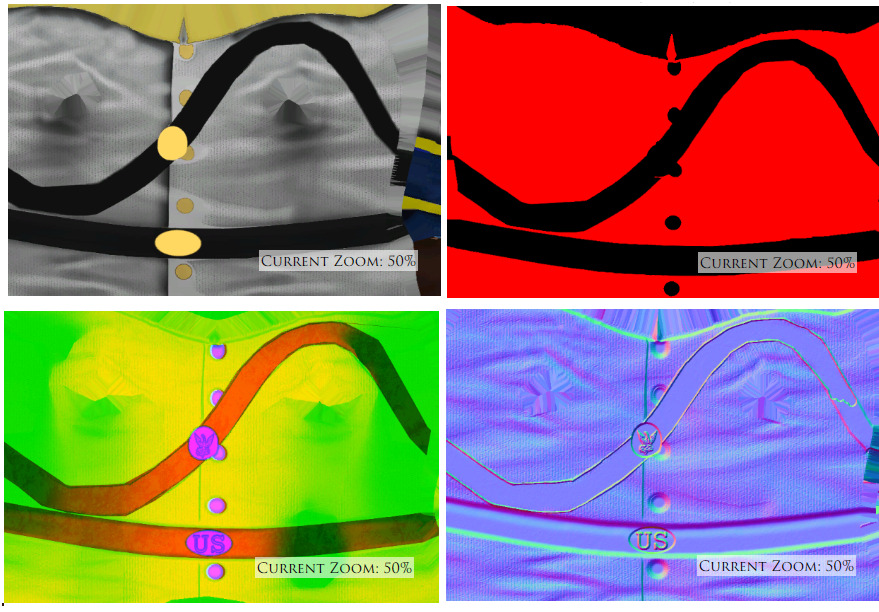
The Masks files are something used in 3D modeling programs like Blender, and you’ll see some crazy colors here which correspond to what that part of the skin is set as using the modeling tool for Ambient Occlusion, Roughness, and Metallic. How to use PBR Textures in Blender | cgbookcase.com
Again, as a novice without the 3D modeling tools it’s beyond my knowledge and if you plan to do more complex skins you’ll need to figure it out, but for our Bandido Hat I think we can use the default file.
The Normals file likewise is something from 3D modeling, if I have it correct it’s the bumpmap that determines height and can add depth and shadows to make the skin look great. For our Bandido Hat we should be fine leaving it as is, but this will be something you need to figure out for more complex skinning. This comparison of the Age V Regular skin shows what each type of texture adds to it, with nice effects added to the plates from the Normals texture to make it show up as it does in-game..
Now did you notice how the BaseColor texture lacked the US insignia on the plates? Yeah, that means if you are doing a skin and the skin has added effects like that in Masks and Normals, you will have to try editing those or otherwise figure out how the experts produce those textures because if you don’t and you try using the default Masks/Normals, whatever is on them will be applied over your new BaseColor.
Alright, so we don’t want to fully replace the Bandido Hat skin and we export our TGAs with a different file name and use File Converter to make them DDTs. We’ll move them into a local mod folder C:\Users\USERNAME\Games\Age of Empires 3 DE\STRINGOFNUMBERS\mods\local\NEWMODNAMEHERE\Art\units\spc\outlaws\textures
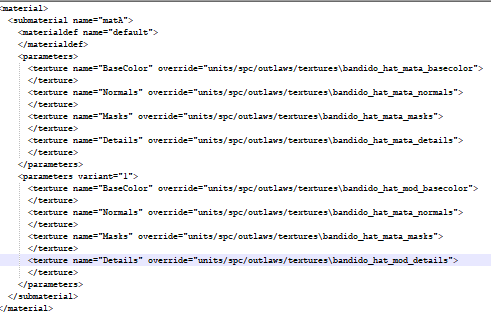
We need to extract the bandido_hat material file from ArtUnits and put that in the mod’s outlaws folder, and our new textures in the textures folder. We’ll also need to extract the unit’s animfile XML (referenced in the protoy xml from Data bar) that is going to use our new Bandido Hat and put that in the appropriate folder if we’re modding an existing unit. We open the Bandido Hat material file in Notepad++ and we’re going to add a new variant that links to our modded materials. As mentioned earlier, there are a few existing units that use variant materials, mostly United States units, if you want to see examples.
One last step, we go into the unit’s animfile XML we extracted that will be using our Bandido Hat and add a material variant line to the Bandido Hat attachment.

Now I am writing this after-the-fact so I hope that was every step required, but here is our payoff, our modded Bandido Hat does indeed show up in-game minus the player color!
Hopefully someone with more experience can provide further guidance, but in the meantime this might be enough to get you started, especially if you just want to do basic alterations, and you can try finding 3D texturing tutorials and AoE3 modding guides that might delve further into the more advanced aspects of doing textures.
10 Likes
This is interesting! Can this be used for buildings too? or is there a different method?
to the moderators… sorry for the posible necroposting.
Process is exactly the same with buildings.
Be warned however that the texture atlas of most buildings is absolutely horrible.
1 Like
Very nice, may do a test. just for fun. And yes, i’m not surprised the atlas is absolutely horrible.